Many Vaughan homeowners are curious about what actually happens during a shingle roof repair. Understanding the step-by-step process makes it easier to trust your contractor and ensures you know what to expect.
Step 1: Inspection
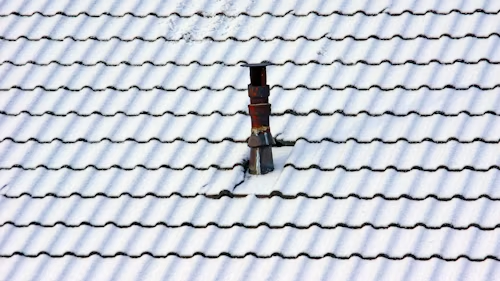
Contractors specializing in roof repair in Vaughan start with a full inspection. They check for missing shingles, water stains, and damage around skylights, chimneys, and gutters.
Step 2: Identifying Damage
- Broken or missing shingles → shingle roof repair in Vaughan.
- Ponding water issues on mixed systems → flat roof repair in Vaughan.
- Drips near skylights → skylight repair in Vaughan.
- Chimney flashing problems → chimney repair in Vaughan.
- Overflowing gutters → eavestrough repair in Vaughan.
Step 3: Preparation
Loose shingles are removed, nails are pulled, and the area is cleaned to ensure a strong seal for the replacement.
Step 4: Installing New Shingles
Roofers install new shingles, aligning them correctly and securing them with proper nailing techniques. This step ensures the repair can withstand Vaughan’s windy seasons.
Step 5: Sealing and Flashing
Contractors reinforce flashing around chimneys and skylights to prevent future leaks. This may involve quick roof leak repair in Vaughan.
Step 6: Final Check
A quality contractor will review the entire roof for other potential issues and provide advice on maintenance.
Emergency Cases
In storm situations, emergency roof repair in Vaughan may involve temporary tarping before permanent repairs can be completed.
Final Thoughts
The step-by-step process ensures repairs are thorough and durable. Vaughan homeowners benefit from professional expertise that protects their homes from further leaks. Serving Vaughan homeowners with trusted roofing solutions. Call or text (416) 731-9155 for friendly service and a free quote from Roof Repair Vaughan.